Cover crops are a beneficial and often necessary part of the seasonal garden to both protect and enhance garden soil. Cover cropping solves the problem of leaving garden soil bare during the winter when wind and rain and frost heaving erode top soil and leach out nutrients. The use of cover crops creates garden soil that is fertile with the best structure to grow healthy plants.
The Renee’s Garden Cover Crop Mix is is a blend of several legumes, grass, roots, and rapeseed. The legumes, Austrian Winter Peas, Fava beans and Hairy Vetch all fix nitrogen from air into their root nodules, loosen and aerate dense soil and gather deep nutrients and minerals. Winter Rye Grass has thick roots which hold the soil to prevent erosion and takes up excess nutrients in the soil. Rapeseed takes up large amounts of nutrients that would otherwise be leached out of the soil by the winter rains. When these cover crop plants are incorporated back into the soil in the spring, they break down releasing the nutrients and minerals back into the soil and add plenty of organic matter which improves the soil structure.
1. Prepare the bed
Prepare your planting bed: Remove all crop residue and break up any large clumps in the garden bed. Rake soil over evenly.
2. Prepare the seeds
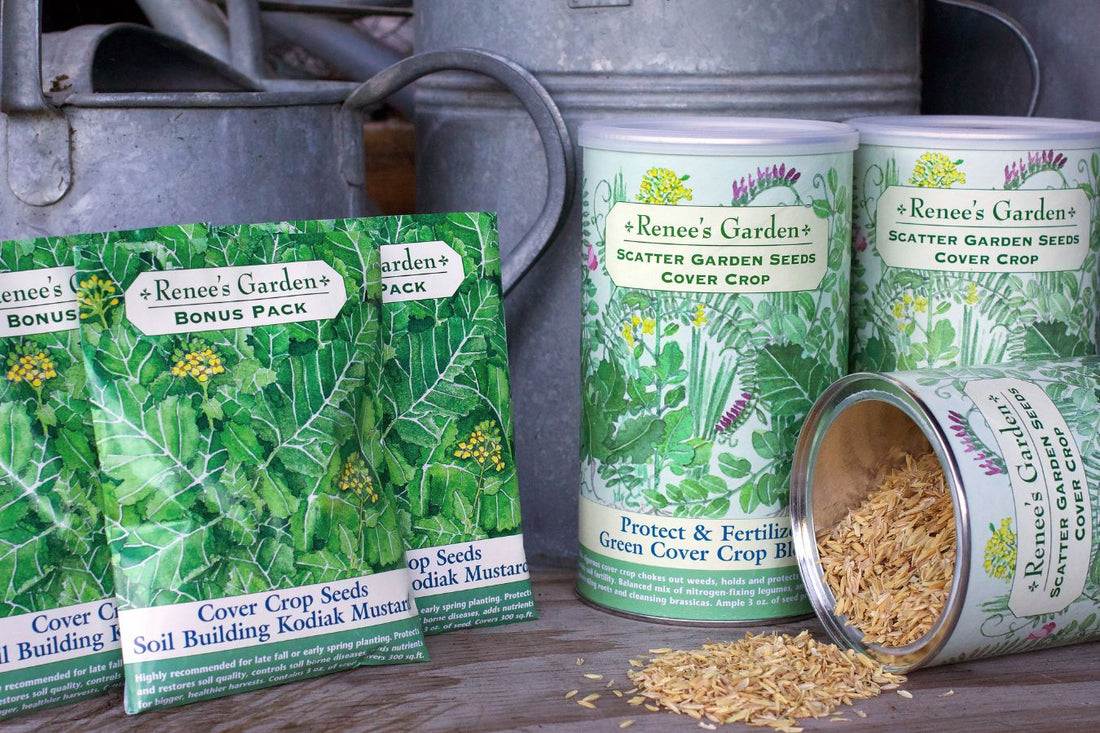
Before opening the canister, shake it thoroughly to evenly mix the seeds with the rice hulls. Then open up the can, peel back the aluminum seal and pour some of the mixture into your hand.
3. Sow
Scatter the seeds, giving them enough space so that they do not germinate in crowded clumps which will only stunt the growth of the plants. The rice hulls are easy to see and a good indicator of how far apart the seed has been sown.
4. Rake
After scattering the seed, use a rigid rake to work the seeds down into the soil to a depth of 1/4 inch.
5. Water
Water the seeds in thoroughly and evenly with a fine mist sprayer.
6. Success
A big bed of cover crop fully grown out.
Incorporating Your Cover Crop Into The Soil
This can be handled a few different ways depending on your climate and the height of the plants.
Method 1
This method works best when the cover crop will be growing for a short time. When 5-6 inches tall, use a garden fork, shovel, weed wacker or rototiller to turn the cover crop into the ground to break down and enrich soil for planting. The breakdown process takes about a month.
Method 2
When cover crop is 1 foot tall, pull out the plants, shake off soil and then compost the plant material to incorporate into the soil later, when it has turned into rich, finished compost. Timing depends on how long your composting process takes. This method works well if it is planted in small areas.
Method 3
When the cover crop reaches 1 to 1 ½ feet tall, weed whack to chop it down. Cover the chopped material with black plastic to hasten decomposition, then turn the nutritious residue into the soil 2 or 3 weeks before sowing your garden crops.