Growing Crafter’s Gourds is both easy and rewarding if you follow some simple guidelines. Gourds need full sun and fertile soil, hot weather and a long growing season to reach full maturity. They are vining plants that look great twining up structures or strongly supported fences and arbors to hold their vigorous leafy vines.
You can also allow the vines to ramble along the ground given enough space. Once harvested, gourds are easy to cure and dry and fun to use for a variety of crafts, making into birdhouses or traditional drinking vessels. They can be left unfinished, painted, or stained different colors.
Soil Prep and Fertilizer Needs
Good soil amendment is essential for these large, heavy-feeding plants. Prepare the soil with plenty of compost (to help retain moisture, add nutrients and improve soil condition for better growth) and a good granular organic fertilizer.
In the Renee’s Garden trial garden, we like to use a slow release, organic granular fertilizer called Sustane, which has an N-P-K of 4-6-4. This will give the large gourd plants plenty of nitrogen (N) for healthy vegetative growth, and enough Phosphorous (P) and Potassium (K) for growing healthy roots and setting fruit. There are many good certified organic fertilizers on the market with a similar N-P-K ratio.
We also add earthworm castings which contain essential nutrients for healthy growth. (Earthworm castings are the end product of worms digesting organic material.)
We also recommend supplemental feeding for gourds every 2 weeks with liquid fish emulsion and kelp at a rate of 2 tablespoons of each per gallon of water. Liquid fertilizer will work quickly to give plants a boost while the granular fertilizer breaks down over time and becomes available for the plants.
The Crafter’s Gourd seeds in the Renee’s Garden packets are color coded with food grade colors to mark which variety they are. Pink seeds are Birdhouse Gourds, undyed seeds are Dipper Gourds, and green seeds are Corsican Gourds. Before planting, separate the varieties so that you can keep track of each one and eliminate the chance of thinning out all of one variety.
Sowing and Growing the Seeds
In hot summer areas with a long growing season:
Where summers are long and hot, you can easily start your gourd seeds directly in the garden in full sun once night temperatures in spring stay comfortably above 50ºF (10ºC).
Sow the seeds 1 inch deep in a group of 2-3 seeds, with each group spaced at least 12 inches apart and 4 inches away from the base of your vertical supports, fence or arbor.
Plastic berry baskets work great to protect germinating seedlings from birds, and also to mark the space where they are planted. Place a basket over the seeds once they are planted.
Once the seeds germinate and they are large enough to handle, remove the strawberry baskets and carefully thin the group of seedlings, leaving just 1 strong seedling to grow to maturity.
It’s really important to thin the plants to the one best seedling, because you want to give your gourd plant plenty of room to grow a large root system and ramble without any competition for sun and nutrients.
Starting Early Indoors in Areas with a Short Growing Season
If you want to get a head start on the growing season, you can start gourd seeds indoors several weeks before the last expected spring frost. Sow 1 seed 1 inch deep per individual 3-4 inch container, and keep them evenly moist while they germinate.
Once gourds have a few sets of true leaves, and the roots have fully established in the container, and all danger of frost is past, they should be acclimated to outside conditions, then they can be transplanted out in their permanent location in a warm, sunny location.
Space each plant 12 inches apart if you are planting in rows on a vertical structure. If you are planning in a hill, allow 3-4 plants per hill, spaced 12 inches apart in a triangle or a square.
Training Your Young Gourd Vines to Climb Up
Gourd plants ramble out many feet over the growing season, and you can easily train these luxuriant vines to grow vertically, but they need substantial supports. A wire fence or a sturdy metal or wooden trellis or arbor works well; the vines can also be used to cover unsightly structures.
Initially as plants start to stretch and grow, they will need a little initial training to get them to grow onto the support. After that, their tendrils will do the rest of the work. Keep an eye on them throughout the season for any additional training they might need.
Growing Your Gourd Vines to Ramble on the Ground
If you have a lot of garden space and want to let the plants ramble on the ground, try growing them in hills. To prepare the hills, put down a few large buckets of compost and a generous helping of organic fertilizer and a few cups of worm castings, and mix it thoroughly with the existing soil. Then heap it up into a nice big pile and flatten the top so that it is about 8-10 inches tall and 2-3 ft wide.
Each hill should be about 6-8 feet apart to provide ample space. Plant a group of 2 or 3 seeds of each variety 1 inch deep, with each group spaced 12 inches apart a triangle or a square, and place a strawberry basket over the seeds.
Once the seeds germinate and they are large enough to handle, remove the basket and thin the group of seedlings to just 1 strong seedling, leaving 3-4 plants per hill. Hill planting allows the roots to spread out and gather more nutrients. To encourage vigorous feed every 2 weeks with liquid kelp and fish emulsion.
When the gourds form, you may want to elevate onto a plastic flat a piece of wood to avoid damage from soil dwelling critters that may create holes in the gourds causing them to rot.
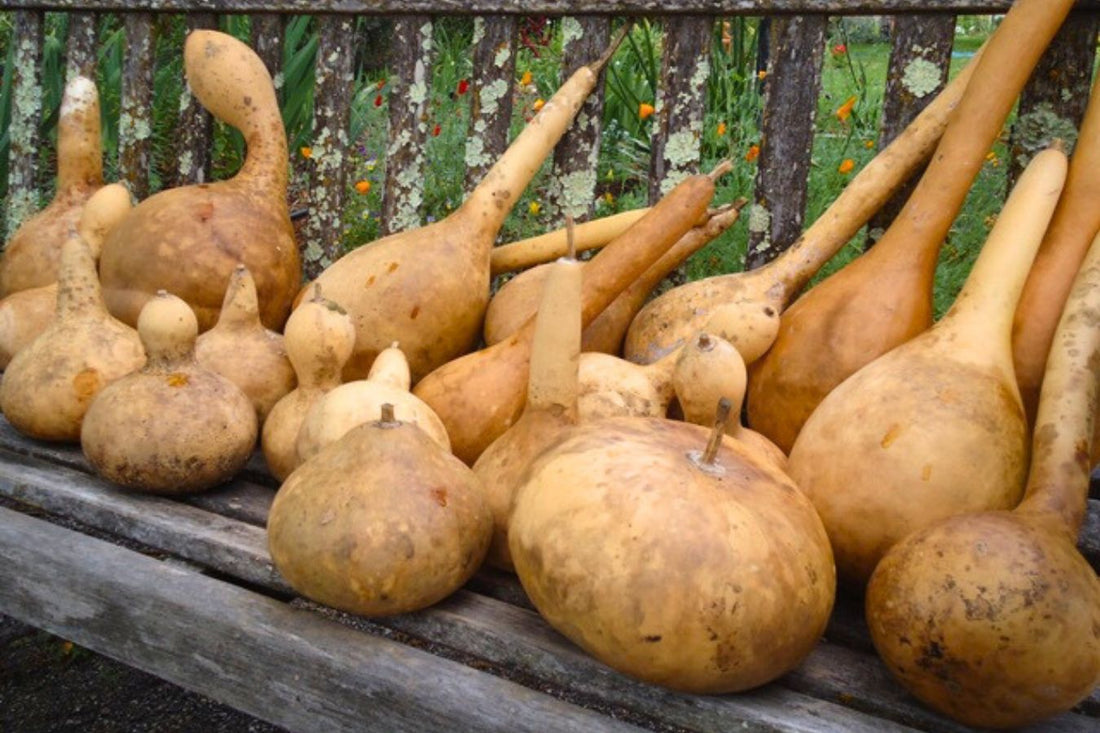
Harvesting Your Gourds
Begin to harvest your gourds when the stems and tendrils start to dry out and turn brown and the gourd rinds are tough. Cut each gourd with several inches of stem intact.
Be sure to harvest your mature gourds before a hard frost to avoid damage. If you have any immature gourds left on the vines, they are best composted, because they cannot be cured and will only decay in storage.
Curing Gourds For Practical and Decorative Uses
To cure gourds, put them in a cool, well-ventilated area, elevated to allow good air circulation from all sides. As they dry, mold will form on gourd exteriors in the form of dark-colored dusty splotches. Don't let this concern you; gourds are about 90% water, so it is normal for natural mold to appear on their surfaces as they dry from the inside. You can easily brush or wash off the mold when the courts are completely dried and ready to use. It will actually make a pretty pattern on the gourd rinds.
During the drying process, which can take 3 to 6 months depending on your climate, your gourds should remain completely hard, and any that begin to soften should be discarded. When gourds are very light weight, sound and feel hollow and their dried seeds rattle inside, they are completely dried up and ready to wipe off and use. Gourds are useful for many crafts; let your imagination be your guide in decorating and painting them.